
Aug 25,2025
0
If you own a boat, you know that managing multiple electrical systems—like bilge pumps, navigation lights, fish finders, and deck lighting—can become complicated without a proper control interface. That’s where a marine rocker switch panel comes in. A well-designed panel lets you control multiple devices from one central location, providing both convenience and safety. However, to get the most out of your panel, it’s crucial to install it correctly. In this guide, we’ll walk you through everything you need to know about installing a marine rocker switch panel, including planning, wiring, safety, and expert tips. At YUJIEKEJ, we specialize in manufacturing durable and reliable switch panels designed for harsh marine environments, so you can trust that our insights are based on real-world experience.
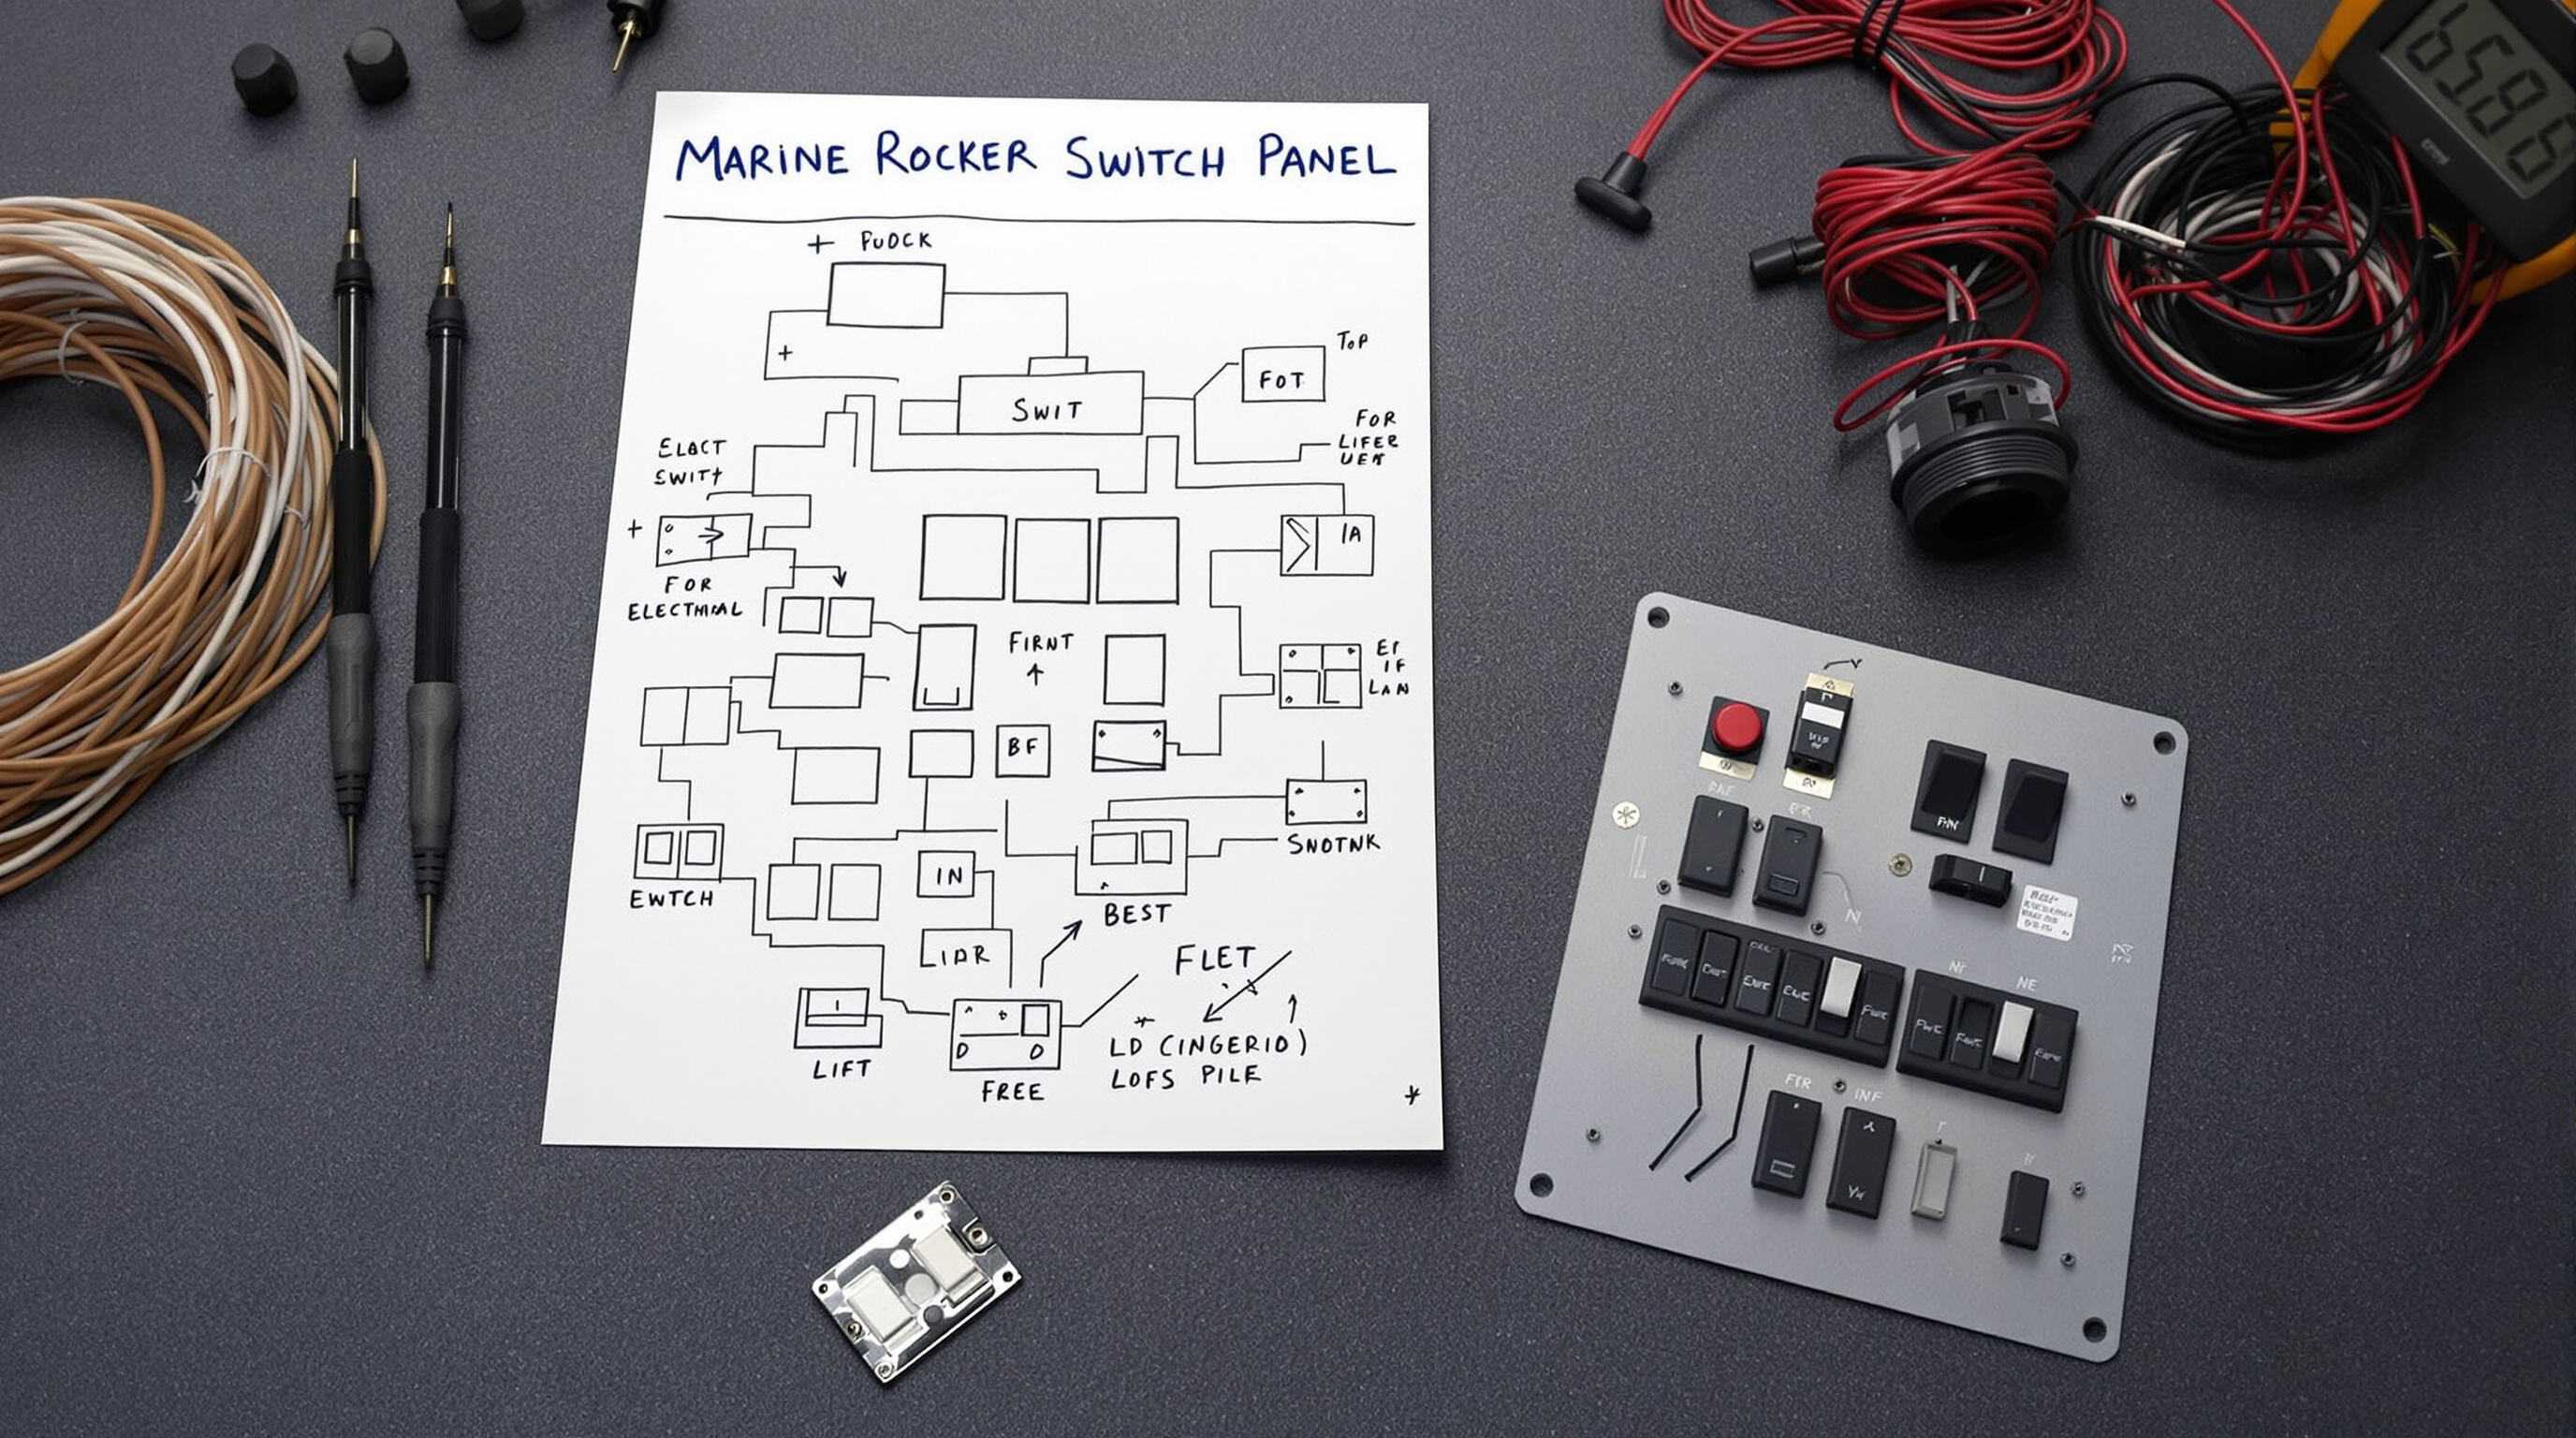
A marine rocker switch panel is a control hub that houses several rocker switches in one compact unit, typically mounted on your boat’s dashboard or console. These switches allow you to turn on and off various electrical devices with a simple flick. Marine panels often come with waterproof housings, LED backlighting, built-in circuit protection, and labels for quick identification. Compared to traditional wiring setups, a rocker switch panel simplifies the electrical system and helps you keep everything organized, especially when you’re out on the water and need quick control.
Start by identifying where you want to mount the panel. The location should be easily accessible and visible from the helm or cockpit. If your boat already has a designated panel area, measure it to ensure your new panel fits. If you’re creating a new cut-out, use the template provided by the manufacturer (YUJIEKEJ panels include these) to mark and cut the correct size.
Also, list out the devices you plan to connect—like bilge pumps, anchor lights, deck lights, or GPS units. Knowing what you’re powering will help you determine how many switches you need and what wire gauge is appropriate.
Safety first: always disconnect the negative terminal of your boat’s battery before working on the electrical system. This prevents accidental shorts, shocks, or equipment damage during installation.
If you’re retrofitting, remove the old panel and clean the surface. For new installations, carefully cut the hole using the template. Mount the panel using stainless steel screws to prevent corrosion. Apply silicone sealant around the edges if extra waterproofing is desired. YUJIEKEJ panels are designed with sealed housings, but sealing the mounting surface adds an extra layer of protection.
Most marine rocker switch panels have a common positive bus bar. Run a marine-grade positive wire from your boat’s battery (or fuse block) to the panel’s power input. Be sure to install an inline fuse close to the battery. The fuse size should match the total current draw of all the devices connected.
Next, run a negative (ground) wire from the battery’s negative terminal to the panel’s negative bus bar or ground point.
Each rocker switch controls one device. Connect a wire from the output terminal of each switch to the positive wire of the corresponding device. Connect the negative wire of the device back to the ground bus bar.
Use heat-shrink connectors or marine-grade crimp connectors to ensure watertight connections. Label each wire with tags or heat-shrink labels to make future maintenance easier.
Once everything is connected, double-check all wires and ensure there are no loose connections or exposed copper. Reconnect the battery and turn on each switch one by one to test your devices. If a device doesn’t work, use a multimeter to check for continuity and voltage at each connection point.
Installing a switch panel on a boat requires extra attention to safety and durability. Here are some key safety tips:
Use Marine-Grade Components: Always use tinned copper wires and corrosion-resistant connectors to prevent rust and oxidation.
Avoid Overloading Switches: Each rocker switch has a current limit. Don’t exceed it, or you risk damaging the switch or device.
Install Fuses: Protect every circuit with an appropriate fuse. YUJIEKEJ panels often include built-in circuit breakers or fuse holders.
Secure All Wires: Use cable ties and wire loom to prevent chafing, tangling, or contact with hot engine parts.
Waterproof Your Work: Boats are wet environments. Use heat-shrink connectors and seal exposed terminals with dielectric grease.
At YUJIEKEJ, we understand the demands of marine environments. That’s why our switch panels are designed with the following features:
IP66 waterproof and dustproof rating
Built-in fuses or circuit breakers
LED backlit switches for visibility at night
Corrosion-resistant materials and stainless steel hardware
Easy-to-read labels for intuitive operation
Compact, modular designs that fit most dashboards
Whether you’re upgrading a fishing boat, sailboat, or speedboat, YUJIEKEJ switch panels deliver professional performance, safety, and style.
Installing a marine rocker switch panel is one of the smartest upgrades you can make to your boat’s electrical system. With careful planning, the right tools, and proper wiring techniques, you can enjoy reliable, centralized control over all your marine electronics. More importantly, you’ll enhance safety on the water—ensuring your lights, pumps, and navigation systems are always just a flick away.
By choosing a trusted manufacturer like YUJIEKEJ, you’re not only investing in a product but also in long-term reliability. Our panels are engineered for durability, designed for ease of installation, and backed by years of experience in marine electrical solutions. So, whether you’re outfitting a new boat or upgrading an old one, YUJIEKEJ has the switch panel solutions you need to sail with confidence.